Want to achieve youthful, tighter skin without invasive procedures? Multipolar RF skin tightening is the answer. This innovative cosmetic therapy uses radiofrequency energy to stimulate collagen production for skin renewal, tightening skin and reducing wrinkles and sagging while enhancing skin tension. It’s a non-surgical option that delivers impressive results with minimal downtime through treatment sessions using a device for skin renewal and boosting skin collagen.
Say goodbye to expensive creams and hello to a more radiant you with skin renewal, skin collagen, and a device for your dermis. Whether you’re prepping for an event or just want to boost your confidence, using a multipolar RF skin tightening device can help you achieve that fresh look in the dermis. Discover how this cutting-edge device works to enhance skin collagen in the dermis and why it’s gaining popularity in the beauty world. Get ready to uncover the secrets of firmer skin!
Principles of Multipolar Radiofrequency Technology
Electrode Functionality
Multipolar radiofrequency (RF) technology uses multiple electrodes. These electrodes deliver RF energy evenly across the skin. This method ensures uniform treatment and reduces discomfort. It contrasts with monopolar RF, which often focuses energy in one area, affecting skin collagen.
The use of multiple electrodes allows for a broader coverage area of skin collagen. As a result, this technology can use treat larger sections of skin more efficiently. The RF energy penetrates deeper layers, stimulating collagen production and tightening the skin.
Thermal Energy Generation
Multipolar RF generates thermal energy effectively. This thermal energy heats the dermal layers without being absorbed by melanin. Melanin is responsible for skin pigmentation. Because of this, multipolar RF is safe for all skin types. Patients with darker skin tones can benefit without the risk of hyperpigmentation.
This safety feature makes multipolar RF popular among diverse populations. Many patients seek treatments that won’t affect their natural skin tone. The ability to provide effective results across various skin types adds to its appeal.
Enhanced Collagen Production
Combining multipolar RF with pulsed electromagnetic fields (PEMFs) enhances treatment outcomes. PEMFs work alongside RF technology to boost collagen production. Collagen is vital for maintaining skin elasticity and firmness.
Studies reveal that this combination also promotes angiogenesis. Angiogenesis is the formation of new blood vessels. Increased blood flow improves oxygen delivery and nutrient supply to the skin. This process supports healthier, more vibrant skin.
Treatment Advantages
-
Safety: Suitable for all skin types.
-
Efficiency: Treats larger areas quickly.
-
Minimal Discomfort: Reduced pain during treatment.
-
Collagen Boost: Enhances skin firmness and elasticity.
-
Improved Circulation: Supports overall skin health.
Patients report noticeable improvements after just a few sessions. They experience tighter skin, reduced wrinkles, and enhanced texture.
Clinical Applications
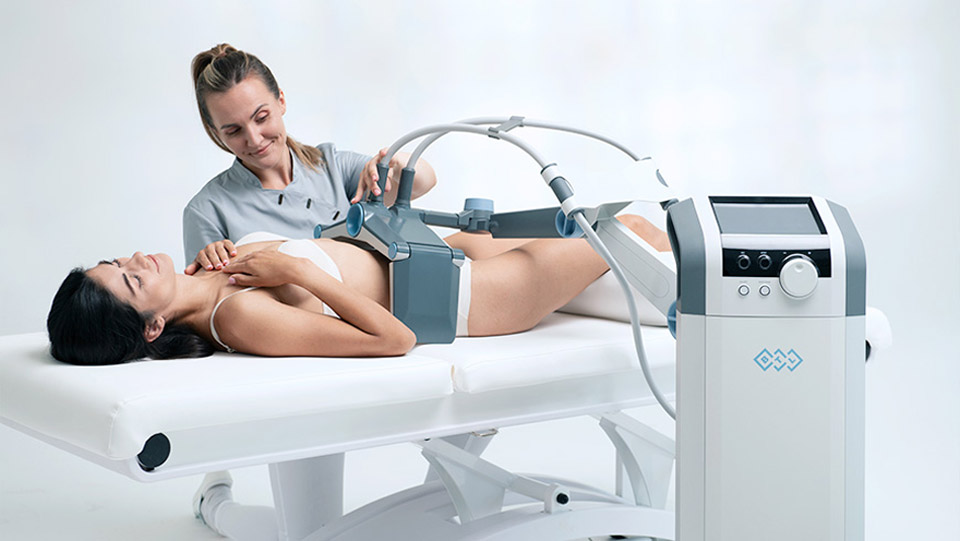
Multipolar RF technology finds applications in various cosmetic treatments. It is commonly used for body contouring and facial rejuvenation. Clinics utilize it to address sagging skin, fine lines, and stretch marks.
Professionals often recommend several sessions for optimal results. Each session typically lasts between 30 to 60 minutes, depending on the treatment area.
How RF Waves Tighten Skin
Heat Induction
RF waves heat the dermal layers of the skin. This heating process induces collagen shrinkage and stimulates its synthesis. As collagen contracts, it creates a tighter appearance on the skin’s surface. Over time, this can lead to noticeable changes in skin texture.
Studies show that consistent treatments can improve skin firmness. Results can last for years with proper maintenance. Patients often report feeling more confident with their smoother skin.
Elastin Production
RF technology also boosts elastin production. Elastin is crucial for maintaining skin elasticity. Increased elastin helps the skin bounce back from stretching and sagging.
With improved elasticity, the skin looks youthful and vibrant. Many users notice a significant difference after several sessions. Regular RF treatments can maintain this enhanced elasticity over time.
Fat Reduction
Another benefit of RF waves is their ability to promote lipase degradation. Lipase is an enzyme that breaks down fats in the body. By enhancing lipase activity, RF treatments help reduce fat deposits under the skin.
This reduction contributes to overall skin tightening effects. As fat diminishes, the skin appears smoother and firmer. Many people seek out RF treatments specifically for this reason.
Treatment Frequency
Patients typically undergo multiple sessions for optimal results. A common recommendation includes treatments every few weeks for several months. After achieving desired outcomes, maintenance sessions may be needed once or twice a year.
Results can vary based on individual factors such as age and skin type. Younger individuals may experience quicker improvements due to better natural collagen production.
Safety and Side Effects
RF treatments are generally safe for most people. However, some may experience mild side effects such as redness or swelling after treatment. These effects usually subside within hours.
It’s important to consult with a qualified professional before starting RF treatments. They can assess individual needs and determine the best approach.
Benefits of Multipolar RF Treatments
Noninvasive Solutions
Multipolar RF treatments offer noninvasive solutions for skin aging and laxity. These procedures use electromagnetic field treatment to stimulate collagen production. This process helps tighten the skin without the need for surgery. Patients can enjoy smoother skin with minimal downtime.
The technology behind multipolar RF is advanced. It targets multiple layers of the skin simultaneously. This leads to quicker results compared to traditional methods. Many people prefer this option because it reduces risks associated with surgical procedures.
Effective Wrinkle Reduction
Effective wrinkle reduction is another key benefit of multipolar RF treatments. The treatment heats the dermis, which encourages collagen remodeling. This process smooths out fine lines and deeper wrinkles.
Patients often notice a significant difference after just a few sessions. Results can improve over time as collagen continues to build up. Many report feeling more confident in their appearance after these treatments.
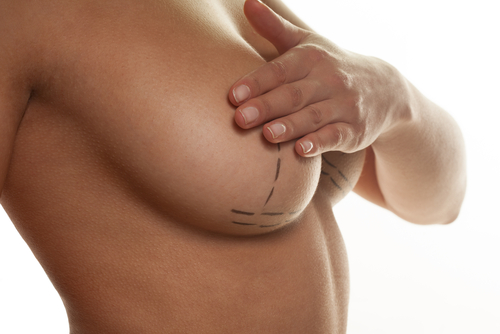
Skin Contouring
Skin contouring is an important aspect of multipolar RF technology. The technique helps reshape areas like the neck and jawline. This provides a more youthful appearance without invasive methods.
The procedure can also enhance facial features by tightening sagging skin. Many patients appreciate how it sculpts their contours naturally. As a result, they achieve a balanced look that enhances their overall beauty.
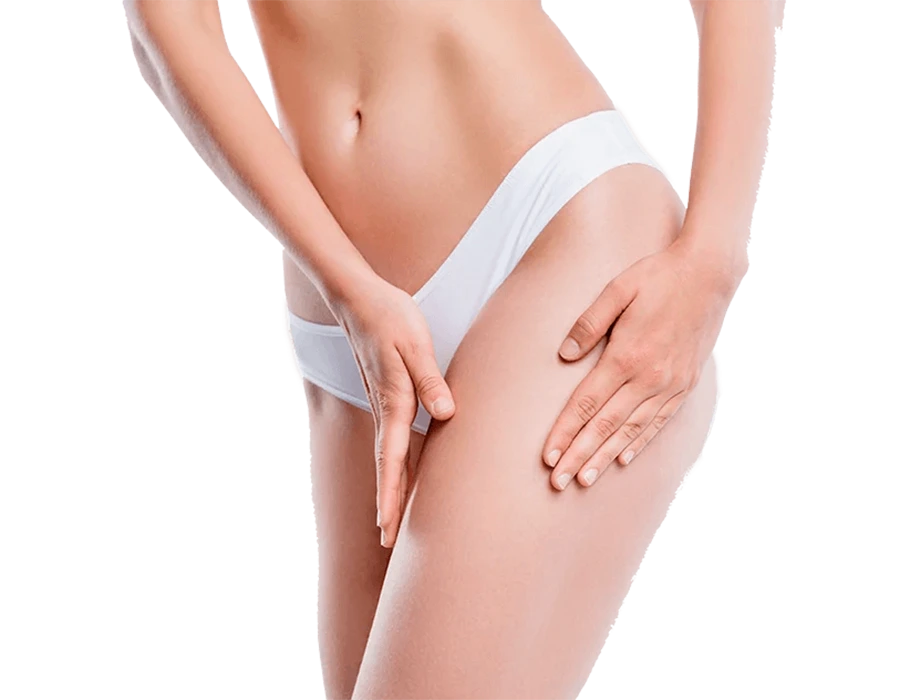
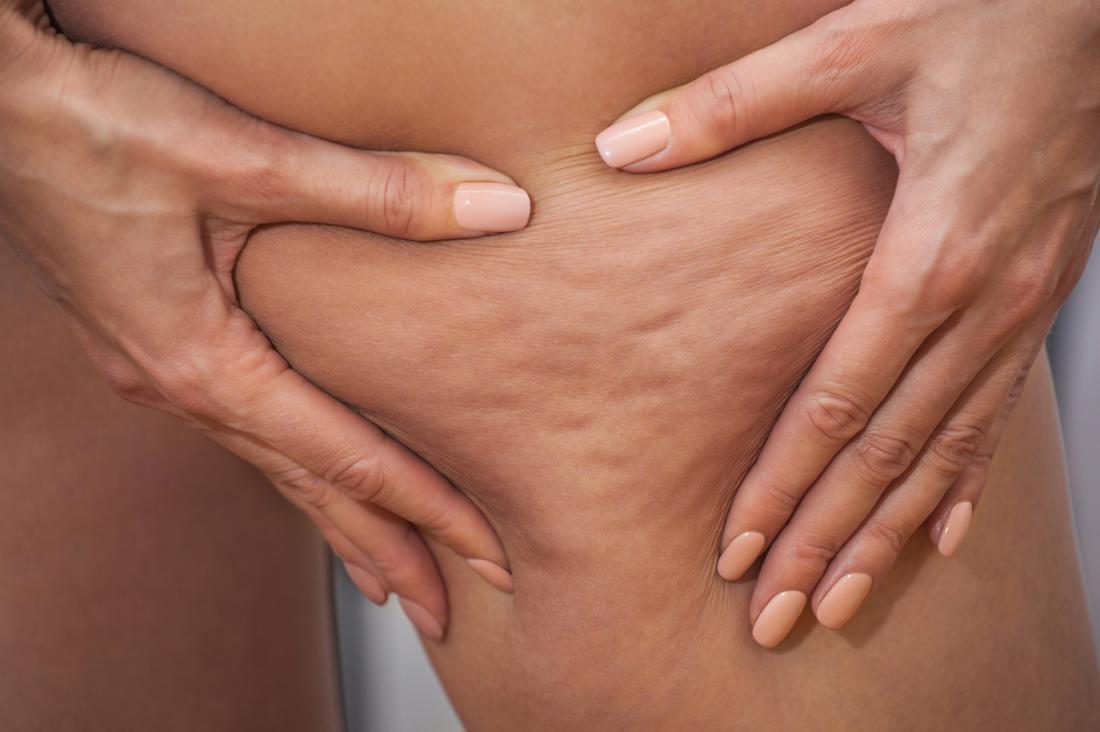
Cellulite Improvement
Multipolar RF treatments also help improve cellulite appearance. The heat generated during the procedure breaks down fat cells beneath the skin. This leads to a smoother texture and reduces the dimpled look commonly associated with cellulite.
Patients seeking to enhance their body image often choose this treatment. They appreciate its effectiveness in targeting stubborn areas that exercise alone may not resolve.
Overall Skin Texture
Improving overall skin texture is another advantage of multipolar RF technology. The treatment promotes blood circulation, which nourishes the skin. This results in a more radiant complexion.
Many individuals find that their skin feels softer and looks healthier after treatments. Consistent sessions can lead to long-lasting benefits, making it a popular choice among those looking to rejuvenate their skin.
Wrinkle and Fine Line Reduction
Target Deep Layers
Multipolar RF skin tightening targets the deep dermal layers of the skin. This treatment penetrates through the surface to reach areas where wrinkles form. By applying controlled radiofrequency energy, it heats the tissue. This heat stimulates collagen production and elastin fibers. As a result, skin becomes smoother and firmer.
This method is effective for various grades of wrinkle formation. Patients often notice significant improvements in their skin’s appearance after just a few sessions. The deep heating process also helps reduce the laxity that often worsens with age.
Enhance Skin Structure
Enhancing collagen and elastin fibers is crucial for reducing fine lines. Collagen provides structural support to the skin. Elastin allows the skin to stretch and bounce back. Multipolar RF treatments encourage the body to produce more of these essential proteins.
As collagen increases, the skin appears plumper and more youthful. Fine lines become less visible over time. Patients report feeling satisfied with their results, as they see gradual changes that improve their overall look.
Noticeable Improvements
Patients experience noticeable improvements in skin texture and firmness after undergoing multipolar RF treatments. Many appreciate how quickly they can see results without invasive procedures. The treatment typically involves minimal discomfort, making it more appealing.
The procedure uses precise temperature control to ensure safety and effectiveness. It targets triglycerides and lipase in the skin, which help break down fat cells. This process contributes to a tighter appearance without significant pain or downtime.
Many individuals find this technology beneficial as it works on various skin types, including male patients. Those who have moderate grades of wrinkles can also benefit from this treatment.
Pain Management
Pain during the procedure is generally mild. Most patients tolerate it well, often describing it as a warm sensation rather than pain. Some clinics offer numbing creams to enhance comfort during treatment.
The time required for each session may vary, but many last around 30 minutes to an hour. Patients can return to their daily activities almost immediately after treatment.
Long-Term Effects
Long-term effects of multipolar RF treatments include sustained tightening of the skin over time. Regular sessions can maintain results, especially as age continues to affect skin elasticity.
Overall, this method stands out for its ability to address both wrinkles and fine lines effectively. The combination of targeting deep layers and enhancing skin structure leads to lasting improvements in appearance.
Body and Face Contouring
Facial Treatments
Facial treatments using multipolar RF technology effectively reshape facial contours. This method tightens sagging skin. It helps reduce facial skin laxity by stimulating collagen production. Increased collagen leads to firmer skin, which enhances the overall appearance of the face.
Patients often notice a more youthful look shortly after treatment. The process is non-invasive, making it appealing for many. Results can last for several months, depending on individual factors. Regular treatments can maintain these results over time.
Neck Contour
The neck area also benefits from multipolar RF skin tightening. Many people experience loose skin in this region as they age. This treatment effectively targets the neck, improving its contour. A tighter neck can enhance the overall look of the face.
Reducing laxity in the neck area complements facial treatments. Improved neck contour creates a more balanced appearance. Patients feel more confident when their neck and face match in firmness.
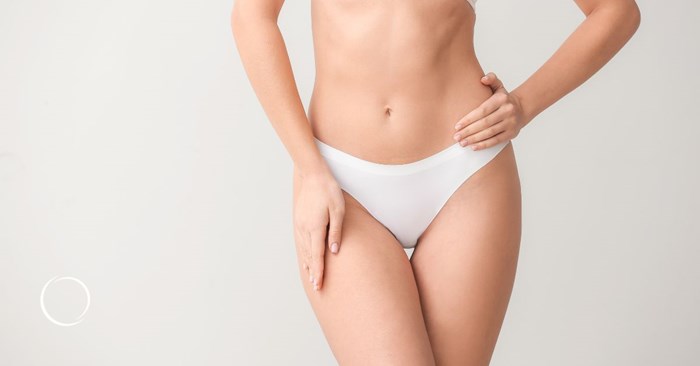
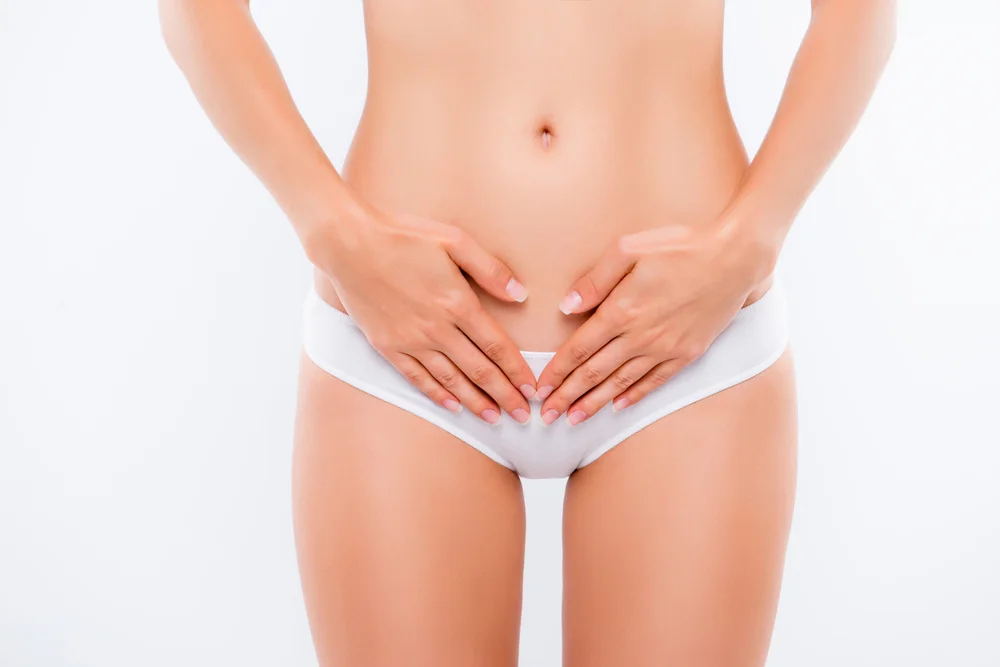
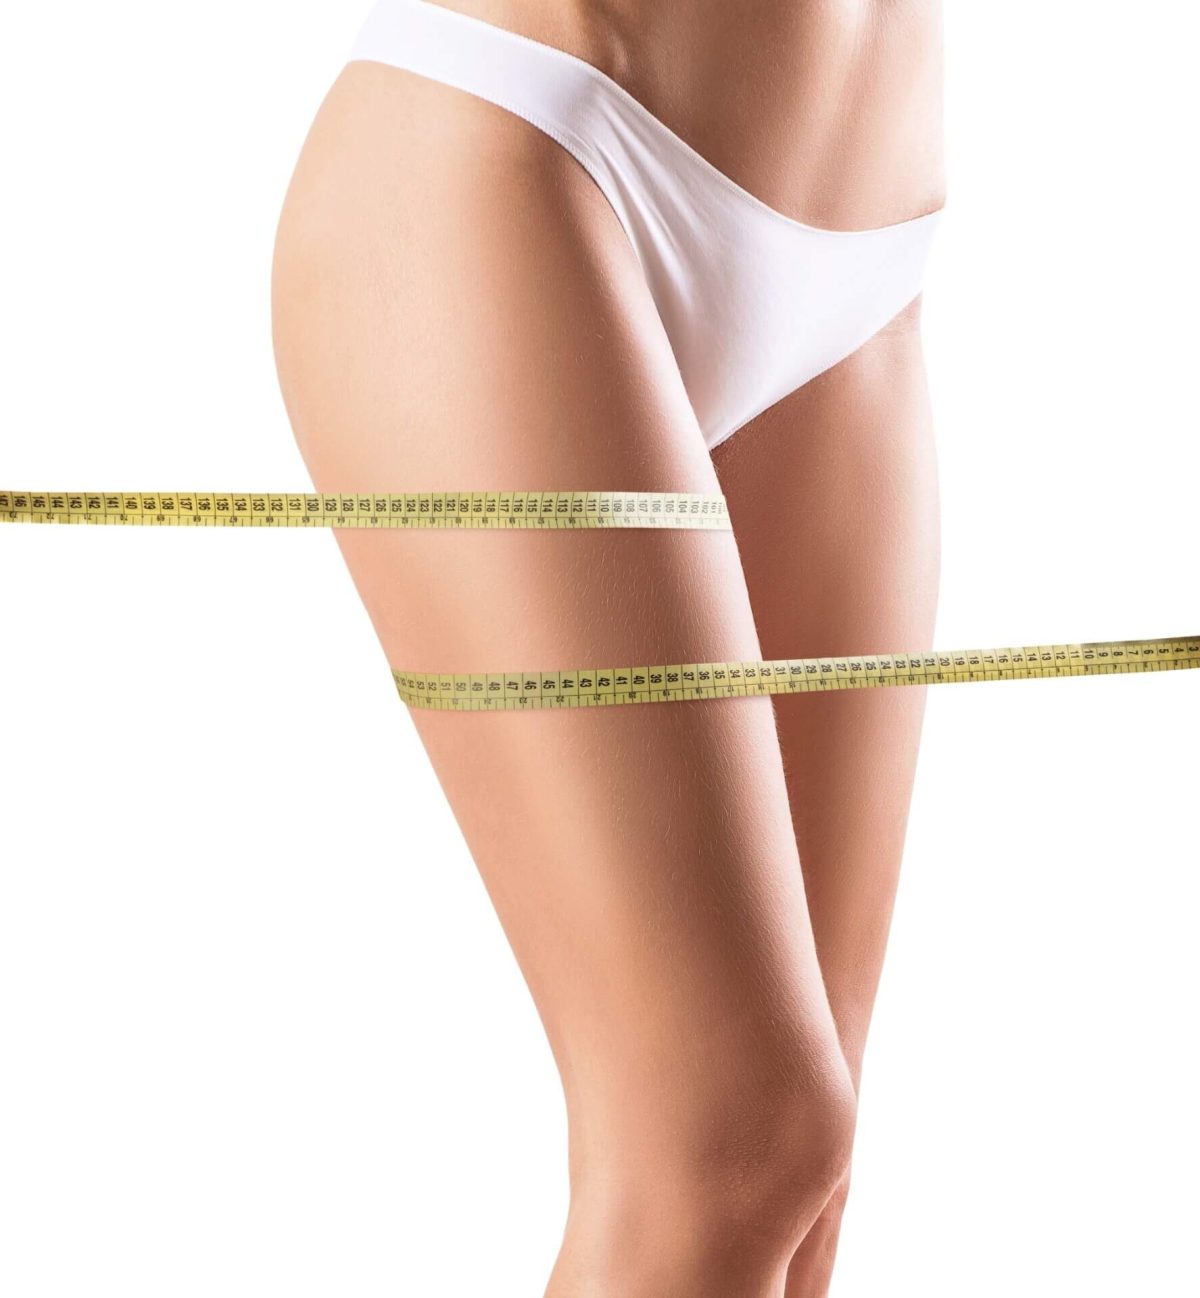
Body Shape
Multipolar RF technology is not limited to the face and neck. It also reduces localized fat deposits on various body areas. This includes common spots like the abdomen, thighs, and arms. By targeting these areas, patients achieve a more defined body shape.
The procedure works by heating tissue beneath the skin’s surface. This process promotes fat reduction while tightening the skin simultaneously. Many individuals report noticeable changes after just a few sessions.
Cellulite Reduction
Cellulite affects both men and women, impacting their confidence. Multipolar RF treatments can significantly improve the appearance of cellulite. They work by breaking down fat cells and stimulating circulation in affected areas.
As blood flow increases, skin texture improves. Patients often see smoother skin where cellulite once appeared. This treatment can be a great addition to a broader body contouring plan.
Social Benefits
Improved appearance can lead to social benefits as well. People often feel more confident in social settings after undergoing treatments. Enhanced facial and body contours boost self-esteem.
In cities like Belo Horizonte, these procedures have gained popularity among various genders. Individuals seek out these non-invasive options to improve their looks without surgery.
Overall Skin Rejuvenation
Skin Texture
Improved skin texture is essential for overall skin improvement. Treatments like multipolar RF can enhance the smoothness of the skin surface. This method helps reduce rough patches and uneven areas. As a result, it promotes a more youthful appearance.
Skin rejuvenation therapies often focus on the outer layers. They aim to refresh photoaged skin. Improved skin condition leads to a more radiant look. Patients notice changes in just a few sessions.
Collagen Production
Boosting collagen production is crucial for skin renewal. Collagen gives skin its firmness and elasticity. Multipolar RF stimulates deeper layers of the skin. This process encourages the body to produce more collagen naturally.
Increased collagen levels lead to firmer skin. It also reduces the appearance of fine lines and wrinkles. Patients experience significant improvements in their overall skin condition after treatment.
Signs of Aging
Addressing multiple signs of aging is vital for effective skin rejuvenation. Common issues include laxity and wrinkles, which can affect self-esteem. Skin aging becomes noticeable over time due to environmental factors and lifestyle choices.
Multipolar RF targets these concerns directly. It tightens loose skin and smooths out wrinkles. Many patients report feeling younger and more confident post-treatment.
Neck Rejuvenation
Neck rejuvenation is often overlooked but essential for a complete look. The neck shows signs of aging just like the face does. Loose skin and wrinkles can make one appear older than they are.
Treating the neck area with multipolar RF improves its overall appearance. The technology helps tighten sagging skin and enhances texture. Patients appreciate a more youthful neck as part of their overall skin health strategy.
Clinical Skin Improvement
Clinical evaluations show significant improvements in skin structure after treatments. Studies indicate that patients experience enhanced skin surface quality after several sessions. These evaluations measure factors like firmness, hydration, and texture.
The results demonstrate that multipolar RF effectively improves clinical skin conditions. Many patients see noticeable changes within weeks, making it a popular choice for those seeking skin improvement.
Long-Term Benefits
Long-term benefits from these treatments include sustained improvements in skin health. Regular sessions can maintain collagen levels and improve overall skin condition over time. This approach prevents premature aging and keeps the skin looking fresh.
Patients who commit to ongoing therapy often report lasting results. Their improved skin appearance boosts confidence and enhances their daily lives.
Safety Considerations for RF Treatments
Temperature Control
Maintaining the correct skin temperature is essential during radiofrequency treatments. The ideal range is between 40-42°C. This temperature helps to achieve effective results while preventing burns. If the skin gets too hot, it can lead to serious injuries. Practitioners should regularly check the temperature throughout the procedure.
Monitoring Side Effects
Patients should be monitored closely for any undesirable side effects. Common side effects include erythema, which is redness of the skin, and edema, or swelling. Stinging sensations may also occur. These reactions are usually temporary but require attention. If they persist, further evaluation is necessary to ensure safety.
Individualized Treatments
Each person’s skin is unique. Tailoring RF treatments to individual skin types and conditions is crucial for safety and effectiveness. Factors like age, skin texture, and previous skin issues must be considered. Customized plans help minimize risks associated with the treatments. A thorough consultation before starting can identify specific needs.
Device Quality
Using high-quality RF devices enhances treatment safety. Reliable devices have built-in safety features that help control heat levels and monitor skin response. Practitioners should only use devices approved by regulatory agencies. This ensures they meet safety standards and are effective for patients.
Professional Experience
The experience of the practitioner plays a significant role in safety. Skilled professionals understand how to adjust settings based on skin type and treatment goals. They know how to manage potential side effects effectively. Choosing a qualified provider can significantly reduce risks associated with RF treatments.
Post-Treatment Care
Post-treatment care is vital for minimizing complications. Patients should follow aftercare instructions provided by their practitioners. This may include avoiding sun exposure and using soothing products on the treated area. Proper care can help in achieving optimal results while ensuring safety.
Frequency of Treatments
Determining the right frequency for RF treatments can impact safety as well. Over-treating can cause irritation and other issues. Following a recommended schedule allows the skin time to recover between sessions. Patients should discuss their treatment plan with their providers to find an appropriate frequency.
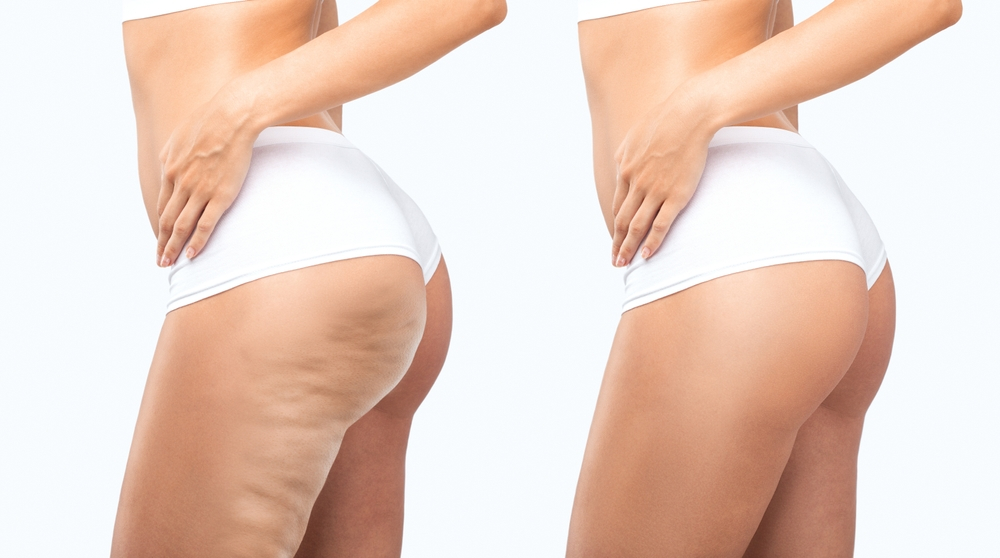
Expected Results and Before-After Insights
Significant Improvement
Patients often experience significant improvement in skin laxity after multipolar RF skin tightening. Clinical studies show that this treatment enhances facial contours. Many subjects report a noticeable tightening effect. They feel more confident about their appearance post-treatment.
The treatment targets deep layers of the skin. It stimulates collagen production, leading to firmer skin. The results are visible within weeks. Most patients see changes after just one session. Continuous treatments can enhance these effects even further.
Assessment Method
The Global Aesthetic Improvement Scale (GAIS) is widely used for assessment. This scale helps measure the effectiveness of the treatment. Patients rate their satisfaction on a scale from 1 to 7. A score of 1 means no improvement, while 7 indicates excellent improvement.
In recent studies, the mean score improved significantly after treatment. Most subjects scored between 5 and 6, indicating marked enhancement. These scores reflect the positive clinical effects of multipolar RF skin tightening.
Before-and-After Observations
Photographs observation plays a crucial role in evaluating results. Before-and-after images provide clear evidence of efficacy. They allow both practitioners and patients to assess changes over time.
Many clinics document these transformations carefully. Patients can visually compare their results side by side. This visual representation often boosts patient satisfaction and trust in the procedure.
Several studies have showcased before-and-after photographs. In one study, 80% of participants showed visible differences in skin texture and firmness. Such data reinforces the effectiveness of multipolar RF treatments.
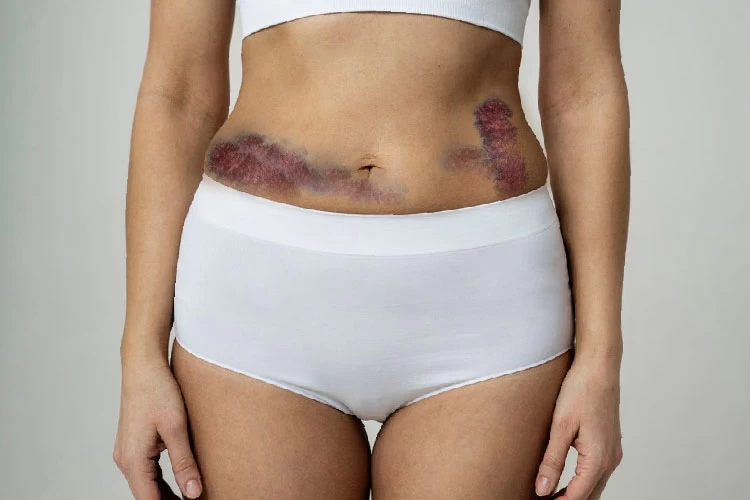
Side Effects
Though generally safe, some side effects may occur. Common issues include mild redness or swelling at the treatment site. These effects typically resolve within a few hours to days. Serious complications are rare but can happen if proper techniques are not followed.
Patients should consult with trained professionals before undergoing treatment. Understanding potential side effects helps manage expectations.
Cost and Affordability of RF Skin Tightening
Treatment Comparison
Costs for RF skin tightening vary. Generally, they range from $200 to $1,500 per session. This depends on the provider, location, and treatment area. Compared to other noninvasive treatments, RF skin tightening is often more affordable than options like laser resurfacing or surgical facelifts. Laser treatments can cost between $1,000 and $3,000 per session. Surgical options usually exceed $5,000.
Patients should consider the overall value of each treatment. While RF skin tightening may seem pricier upfront, it offers long-term benefits. Fewer sessions may be required compared to other methods. This can lead to savings over time.
Influencing Factors
Several factors affect the price of RF skin tightening. The frequency of sessions plays a crucial role. Most patients need 3 to 6 sessions for optimal results. Each session typically lasts about 30 to 60 minutes.
The treatment area also influences costs. Treating larger areas like the abdomen may cost more than smaller areas like the neck or face. Providers may offer package deals that reduce costs for multiple sessions.
Location matters too. Urban centers often charge higher prices than rural areas. Patients should research local providers and compare their rates.
Long-Term Savings
Investing in RF skin tightening can lead to potential long-term savings. Many patients find they require fewer follow-up treatments after completing their initial sessions. This reduces the need for additional procedures over time.
RF skin tightening can delay the need for more invasive treatments like facelifts or fillers. By maintaining skin elasticity and firmness, patients may spend less on ongoing skincare routines.
Many people appreciate the convenience of fewer appointments. They enjoy the results without the hassle of frequent visits to clinics.
Finding Qualified Providers
Certified Practitioners
Look for certified practitioners specializing in multipolar RF skin tightening. Investigators recommend selecting professionals who have training in RF technology. Qualifications matter. They ensure that the provider understands the procedure and its potential risks.
Patients should prioritize providers with a solid track record. Their experience can significantly impact the outcome of the treatment. Seeking out professionals affiliated with reputable institutions, such as Universidade Fumec, can be beneficial. These affiliations often indicate a commitment to high standards.
FDA-Approved Devices
Verify that the devices used are FDA-approved. The safety and effectiveness of RF treatments depend on the quality of the equipment. Authors stress that using approved devices minimizes risks associated with the procedure.
Providers should be transparent about the instruments they use during treatments. Ask them about their protocols and how they ensure patient safety. This information helps patients make informed decisions regarding their care.
Patient Reviews
Read patient reviews and testimonials to assess provider reliability. Feedback from previous patients offers valuable insights into their experiences. Look for comments on the effectiveness of the procedure, as well as the professionalism of the staff.
Positive reviews may indicate a higher level of satisfaction among patients. Conversely, negative feedback could signal potential issues with specific providers or facilities. Consider both sides to get a balanced view.
Treatment Categories
Understand the different categories of RF skin tightening procedures available. Each category may offer unique benefits and risks. Some procedures focus on facial areas while others target body regions.
Investigators note that female patients often seek these treatments for various reasons, including aesthetics and skin health. Knowing what each type involves helps patients choose wisely based on their needs.
Demand for Services
The demand for multipolar RF skin tightening has increased in recent years. Many patients seek non-invasive options to improve their appearance without surgery. This growing interest drives more providers to offer these services.
As demand rises, so does competition among practitioners. Patients should take advantage of this by comparing options before making a decision. Evaluating multiple providers can lead to better outcomes and pricing.
Closing Thoughts
Multipolar RF skin tightening is a game changer for anyone looking to rejuvenate their appearance. This innovative technology effectively tightens skin, reduces wrinkles, and contours your body and face. With numerous benefits and safety measures in place, you can feel confident about exploring this treatment.
Investing in your skin is investing in yourself. Don’t hesitate to seek out qualified providers who can guide you through the process. Your journey to youthful, radiant skin starts now. Take the leap and experience the transformative effects of multipolar RF treatments today!
Frequently Asked Questions
What is multipolar RF skin tightening?
Multipolar RF skin tightening uses radiofrequency energy to stimulate collagen production, leading to tighter and firmer skin. It’s a non-invasive treatment suitable for both the face and body.
How long do results from RF treatments last?
Results can vary, but many individuals enjoy improvements for 6 to 12 months after treatment. Maintenance sessions can help prolong these effects.
Are there any side effects of multipolar RF treatments?
Side effects are typically minimal and may include mild redness or swelling. These usually resolve within a few hours post-treatment.
Is multipolar RF safe for all skin types?
Yes, multipolar RF is generally safe for all skin types. However, consulting with a qualified provider is essential to assess individual suitability.
How many sessions are needed for optimal results?
Most patients require 3 to 6 sessions for optimal results, spaced about 4 weeks apart. Your provider will tailor a plan based on your specific needs.
Can I combine RF treatments with other procedures?
Yes, multipolar RF can be combined with other aesthetic treatments like fillers or laser therapy for enhanced results. Always consult your provider for personalized advice.
What should I expect during an RF treatment session?
During the session, you’ll feel a warm sensation as the device delivers radiofrequency energy into your skin. The procedure is generally comfortable and takes about 30 to 60 minutes.